8: Into the Fire
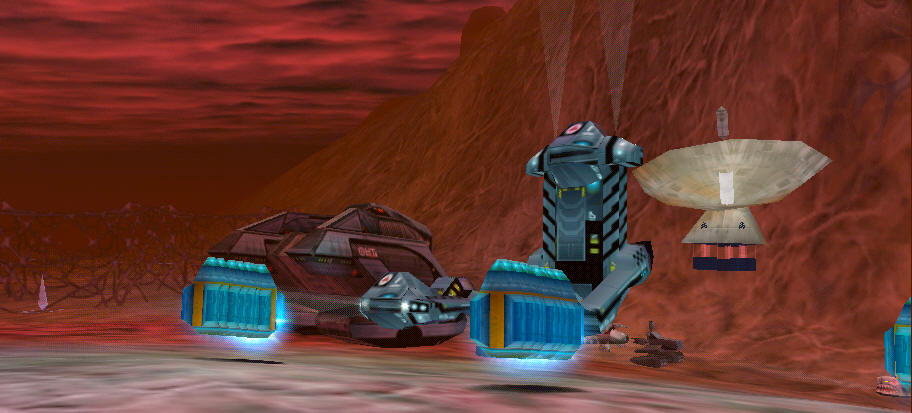
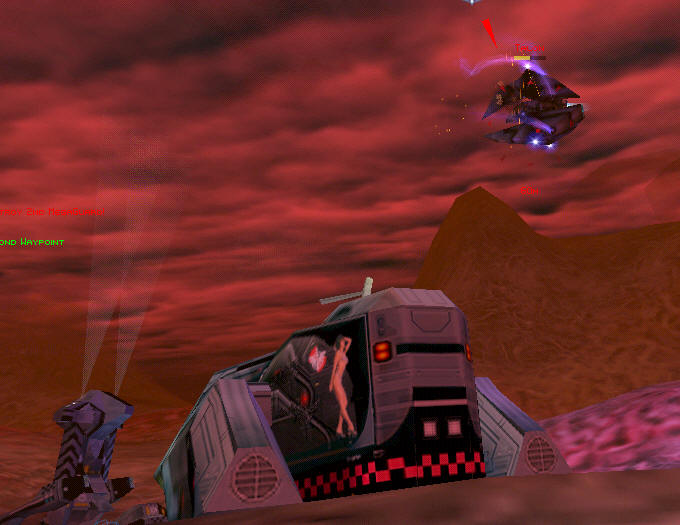
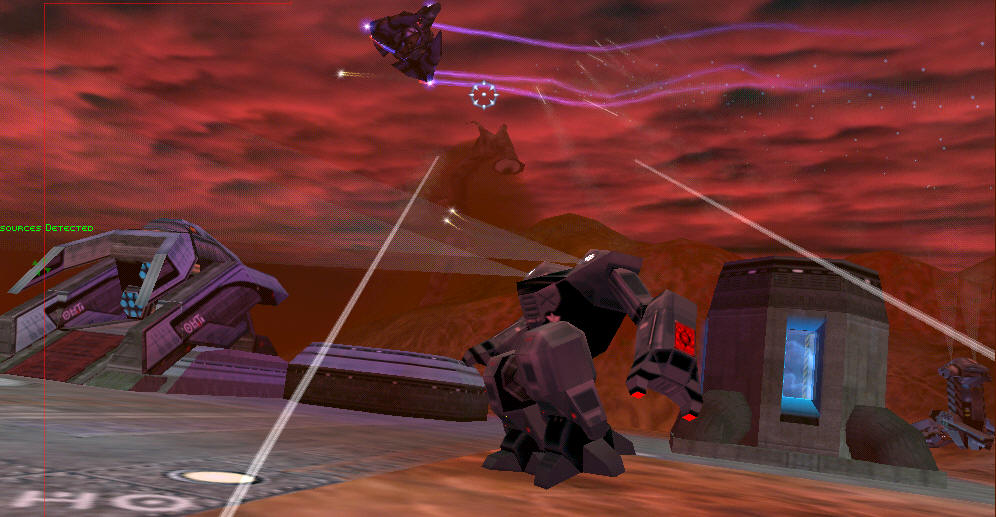
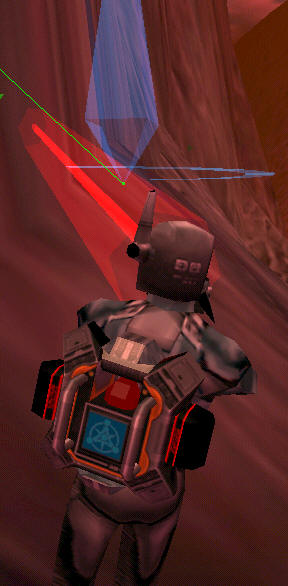
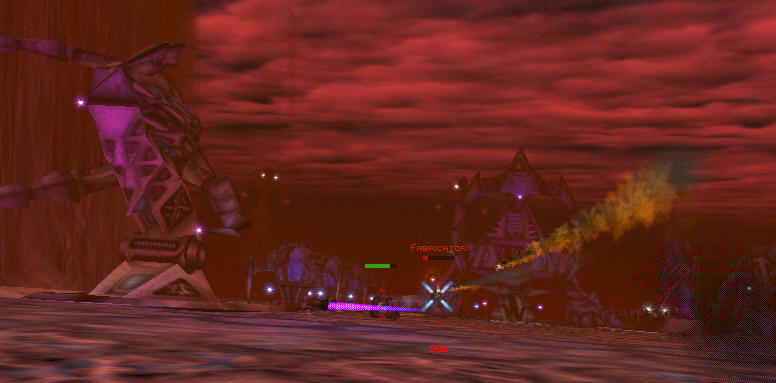
You'll need to hit the ground running on this mission, because your recycler will start moving out almost immediately, and it's up to you to keep it safe. But, before getting into the particulars, check out your fancy new tank and it's high powered weaponry. The hyper-slag cannon has more destructive power than any ordinary cannon, and it will out range anything else on the map. If you can see it, then it is in range of this cannon. You have a heavy chain gun, which will come in handy, later, when you encounter some fast moving, flying Cerberi ships. You also have a red field special, which will keep those mini-comets from the Siren from locking in on you, allowing you to move in close and make short work of them with your slag cannon. The mortar, of course, can be used if you don't have a direct line of sight on something. All together, this super tank makes you a one man army. Try not to lose it. So, let's get busy. Have one of your tugs pick up the ECM pod and then have all your vehicles follow the recycler.
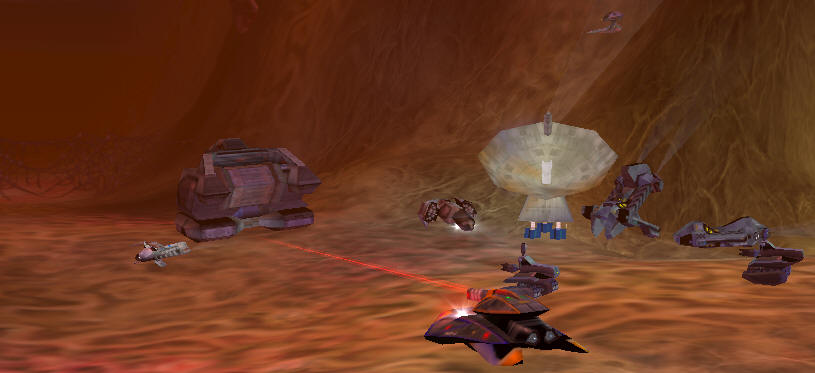
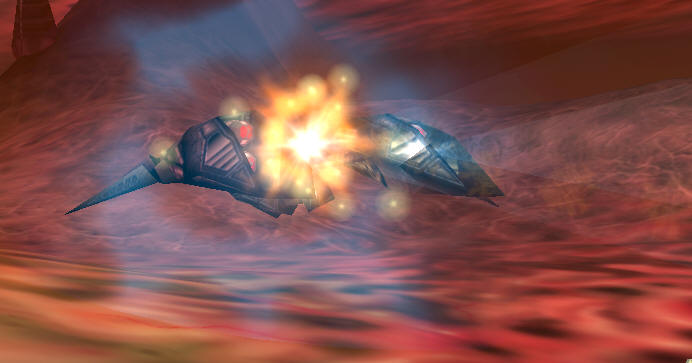
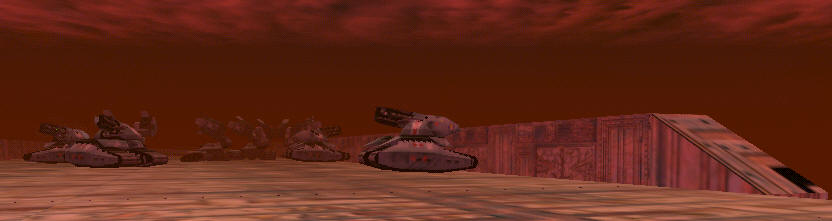
Get out ahead of your recycler and take out the turret to your right, the gun tower to your left, and then zip across the lava to take out the three Cerberi Atlases shelling your convoy. Zip back over ahead of your convoy and take out the additional turrets in its path.

Be prepared for some Krulls and Tritons to show up to harrass your forces on the way to the first way point, as well.
Although there may not be one present when you first reach the way point, be prepared for a turret to show up and park itself on this nav.
You'll want to position your turrets and perhaps your bomber to cover this way point, since the Cerberi will keep trying to position a turret there. Meanwhile, clear out the gun tower and other turrets that are in sight of the the first way point, so your forces don't accidentally wander into their range.
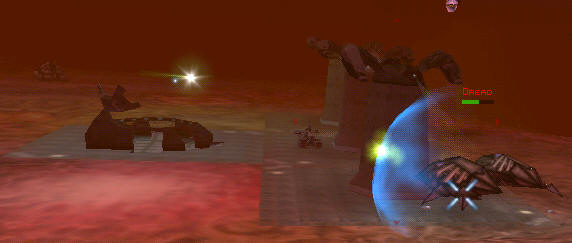
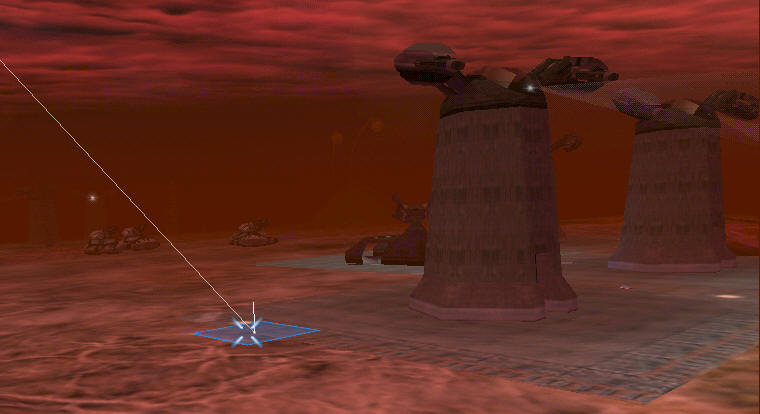
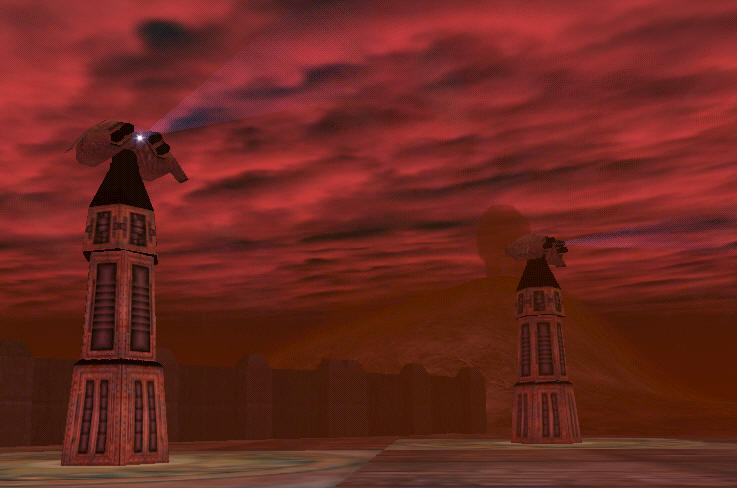
Once your forces reach the first way point, they will park themselves and wait for you to clear out a mega gun tower blocking your approach to a bridge. Don't be in too big a hurry to knock down the mega gun, because your forces are relatively safe waiting at the first nav point, and they'll stay put as long as the mega gun is still there. Use the opportunity to knock out other gun towers and turrets before finally taking out the mega gun.
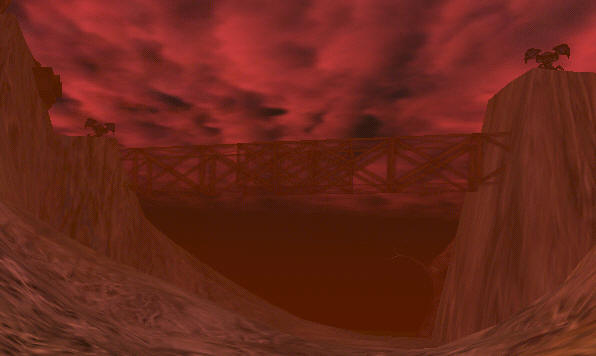
In particular, clear out the path to the Hadean Lab, since you'll be making a side trip there, after your forces progress to the second way point. Might as well clear out some of what blocks your way across the main bridge too, since the third way point is just across the bridge. Leave up the Mega Gun on the other side of the bridge, but pick off the nearby gun tower and turrets. In fact, you can continue across a smaller bridge (on the other side of the main bridge), knocking out those many troublesome turrets, anticipating that you will only have to deal with them later, anyway.


Although the mission was designed to have the player use the waiting period, while parked at the way points, to control the movement of their recycler, I'm sure you've noticed that you have a second tug with nothing in its grips. You can pick up the recycler and control its movement in this fashion, too. There's one thing you need to be aware of, if you opt for this tactic; if you make a saved game with a tug holding anything and restart from that saved game, you'll find that your tug cannot release whatever it is holding. Basically, this means that you'll be screwed when it finally comes time to deploy your recycler. Your only option is to make sure that you put down the recycler before you make a saved game; then, pick the recycler back up, after saving. (You'll have the same problem with not being able to release the ECM pod, but that won't really matter.)
Okay, you've taken generous advantage of your recycler's relative safety at the first nav point to tear up the Cerberi's fixed defenses. Now, it's time to come out into the open. Knock down the Mega Gun and deploy your units at the foot of the ramp going up onto the bridge. They are now out exposed to the patrolling Krulls, Tritons, Sirens, and occasional Devastator.

After you get your recycler to this nav point, make sure that you don't have any incoming attackers and then follow your orders to investigate the bunker in the Hadean Lab.

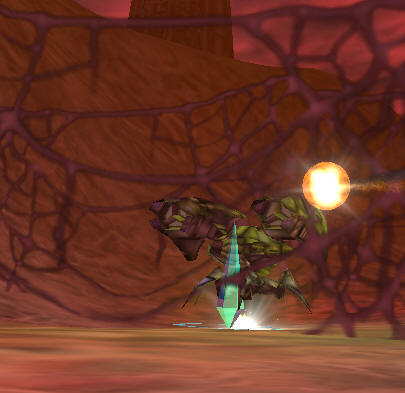
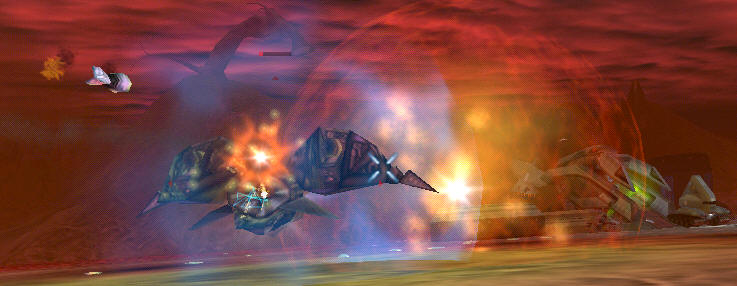
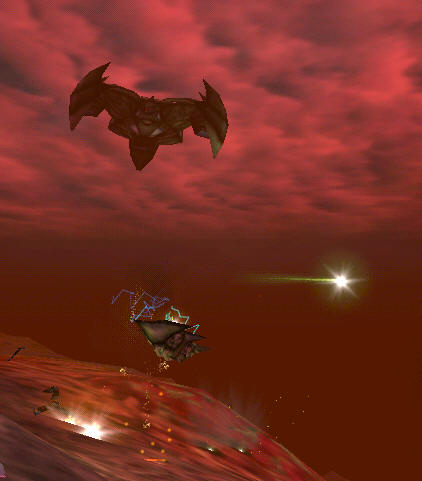
After you exit the bunker, you'll immediately be faced with a flying Cerberi ship, a Talon.
Ignore it and get back to your units.
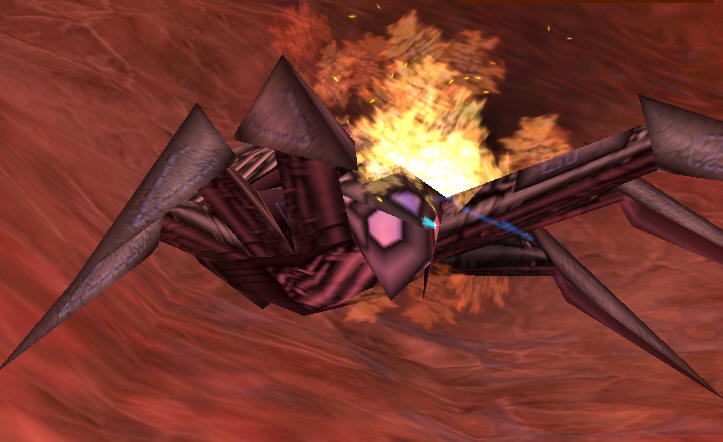
If a Siren catches them out in the open and gets off a few volleys, it's time to return to Go (do not collect $200).
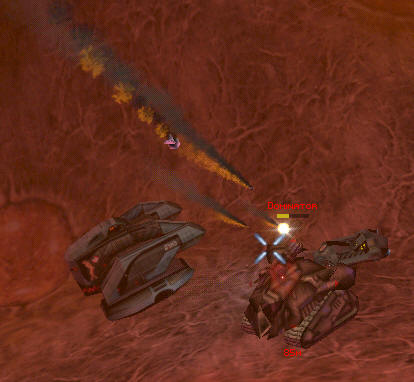
You'll have to balance taking down the second Mega Gun with protecting your convoy. And once you do knock down second Mega Gun tower, you'll be faced with the issue that some of your units may have difficulty making it up the ramp onto the bridge, including the recycler. Welcome to Battlezone II. There's not much you can do about it, but have a saved game to fall back on and hope for the best. Maybe try to keep units out of the way of each other and give them a relatively straight run at the ramp, if you can.
Once your recycler reaches the far side of the bridge, you'll be given an another assignment to cut off a bunch of heavy units hot on your tail. This is easily enough done by following the orders you are given. After this, it is back to providing cover for your convoy. In particular, expect some heavy units to come at you, head-on, as you approach the fourth way point (just across the smaller bridge). If you can, get your other units to take on the flying Talon. You can focus on the Devastator.

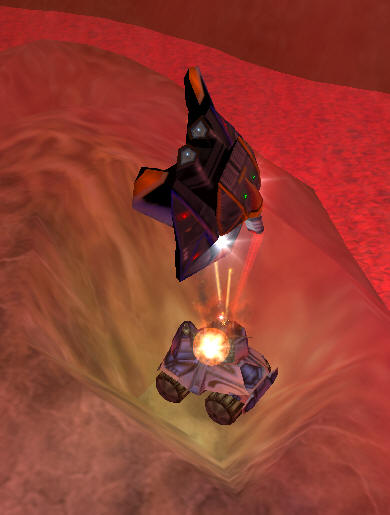
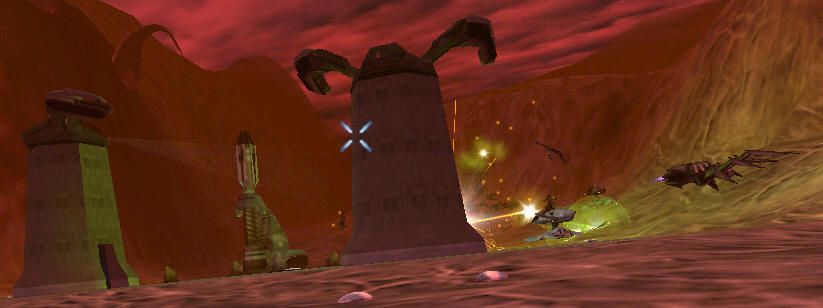
As your convoy makes its way from the third nav point, keep an eye out for some Sirens sneaking up on the back of your convoy. Although the main bridge is down, this won't deter these sirens from coming across the lava. Once again, if one of these catches you unexpectedly, it can make short work of your essential units, your recycler and your tugs. Each tug has 20 units of scrap, so you can't afford to lose more than one.
Once you reach the final way point, your recycler will come under your control. It should be relatively safe, too, assuming that you've cleared out any pursuers. Hey! Where'd this guy come from?
You can use this time to let your repair trucks do what they need to, while you explore the two suggested sites for building your base. Clear out the many turrets that you run into as you go. I suggest that you build your base where Shultz recommends, instead of where Windex believes is best. After all, is there any reason to trust her judgment?
Once you have your recycler deployed, you'll pretty much have to go right to work building some gun towers to protect your two nearby wells and your base, since all will come under a steady stream of attacks.
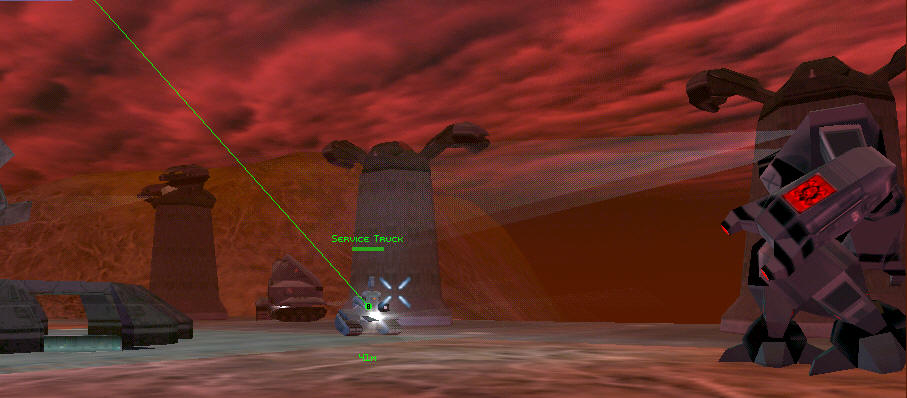
Get a factory and a service bay up, next, so you can start building out service trucks.
You might want to hold off on the armory, though, since this seems to trigger a new set of orders, and it will be to your advantage to be well dug in before these orders arrive. In fact, I like to go so far as to even put up some gun towers out in the vicinity of where Windex wanted to build the base, before I bring on my new set of orders.
Once you do build an armory, remember to change your tank, rocket tank, and turret build outs, so you can start cranking out these upgraded units, while you and Shultz are sent on a mission. Maybe make a saved game after you and Shultz reach the other side of the river, since I've had problems with our buddy getting himself killed soon after this.
Be prepared to come back from this mission to find your base under a pretty intense attack. This is where all those gun towers, as well as extra offensive units can be of some help.
Try to rebuild quickly from this, because you'll soon have something else to do.
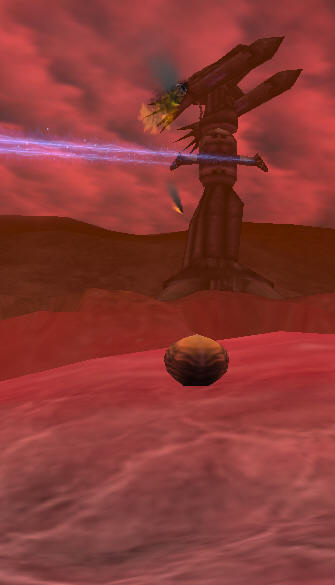
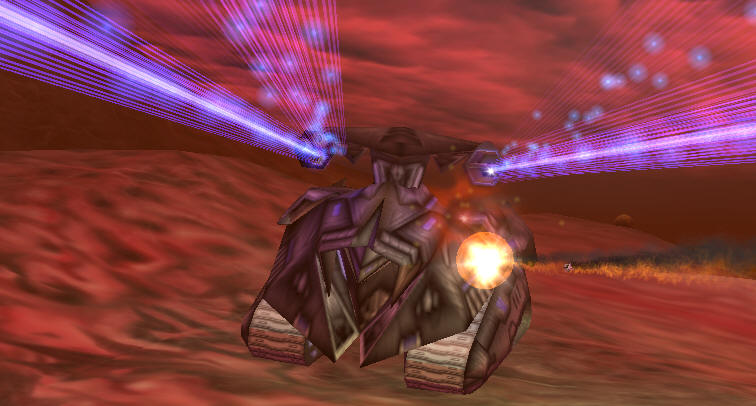
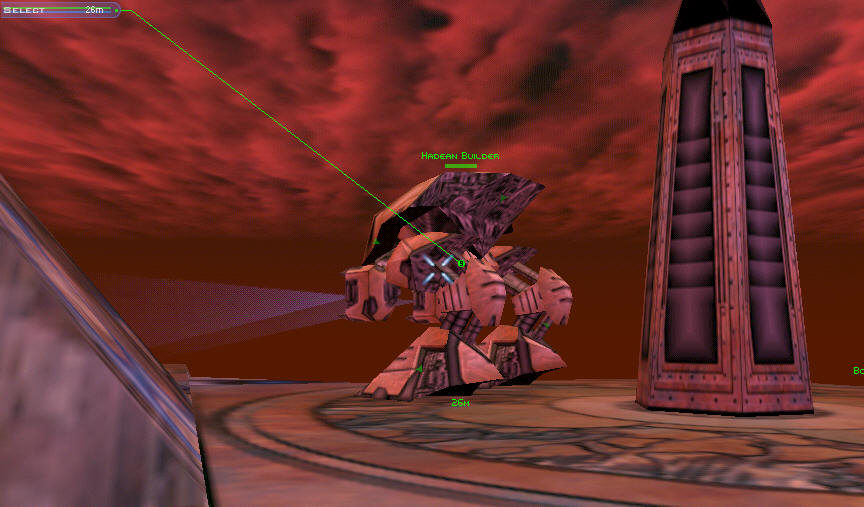
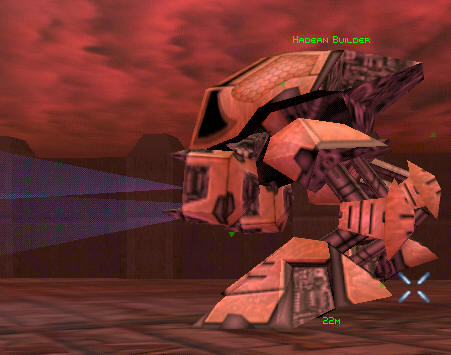
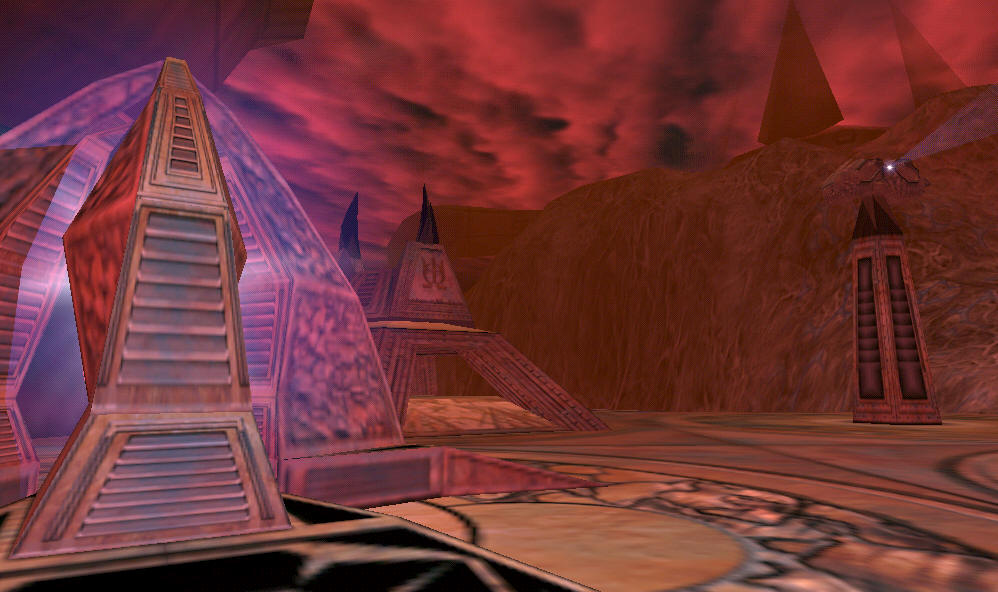
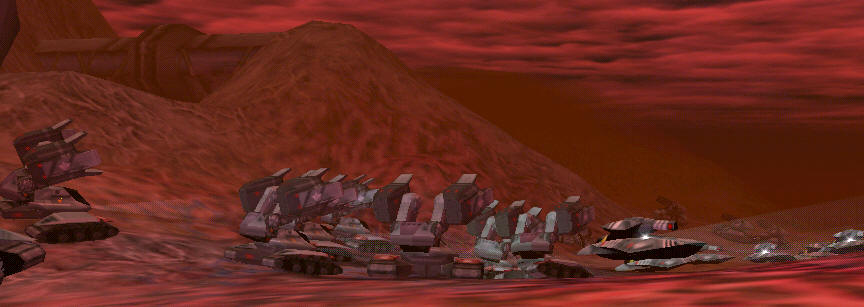
Things really get interesting when you are given your orders to storm the Cerberi base. You have lots of options for how to go about doing this. If you are not in any hurry, you might like massing a large attack force to pull this off. Bring along that Hadean builder, too, because it can come in handy for destroying otherwise indestructible structures that your units will waste all their ammo on. You also can put up power generators, relay bunkers, and gun towers. I would recommend trying to get this army across the main bridge before you blow open the crater.
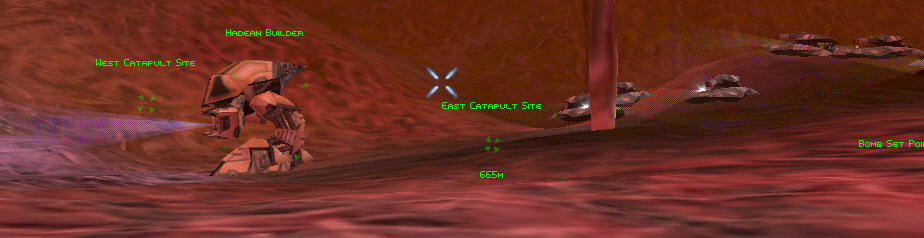
A bomber can also be quite effective against the Cerberi base. You should be able to find enough wells to do this by this point. Besides the first two wells that you started with, there is the third well near where Windex wanted you to build the base. There is a fourth bio metal pool not too far from the contraption that you and Shultz used to reach the other side of the river, and there is even a fifth well on one of the islands that make up the delta to the main river. You'll need to pilot the scav yourself, or build a tug, in order to get a well up on that last pool.
Surprise!
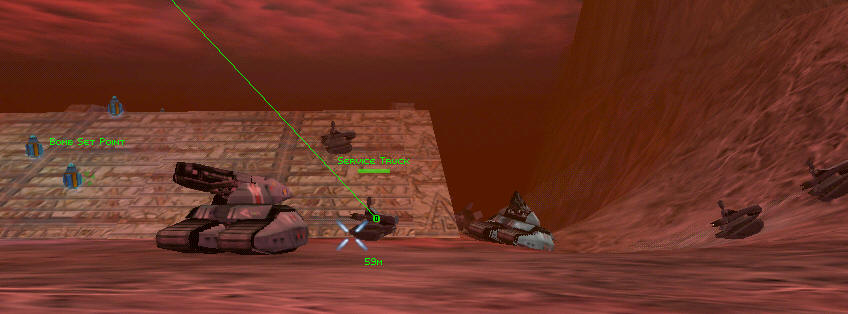
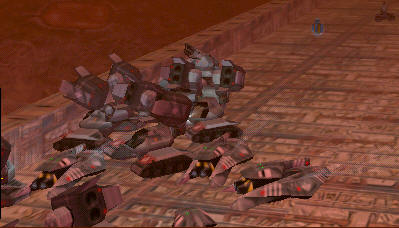
Getting your units across the bridge in large groups can be a bit tricky.
Let's see, what can I put the Hadean Builder to work doing?
Wrangling your troops into position before you blow open the crater can be a bit of a trick, too.
Knock, knock. Can I come in?
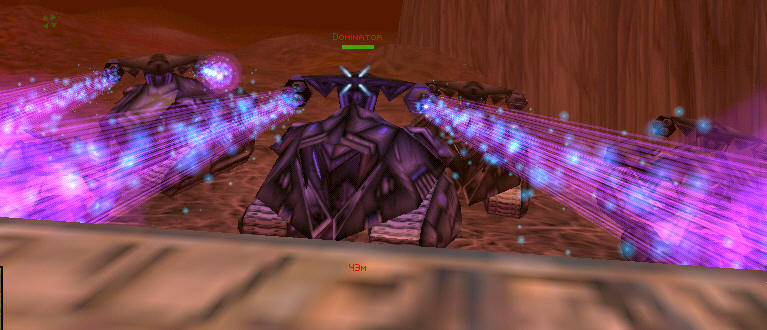
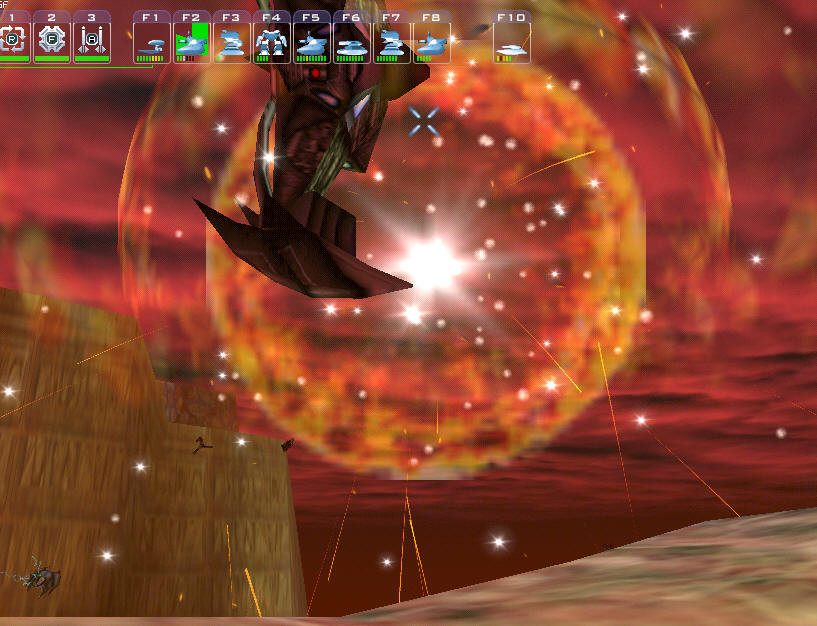
Blowing open the crater is kind of like poking a stick into a hornet's next.

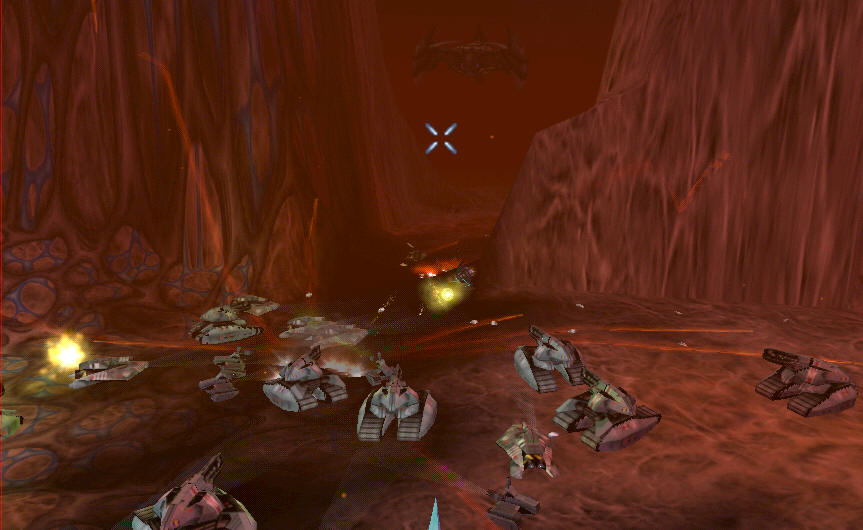
Rather than trying to get my troops into the crater, it seemed easier to get the Cerberi to come to me.
You can then slip in yourself to tear up their base, retreating back to your forces as needed.
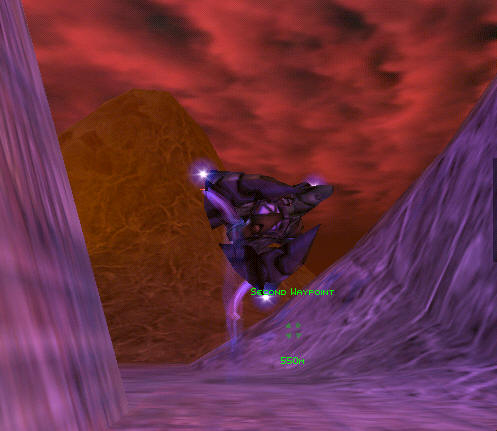
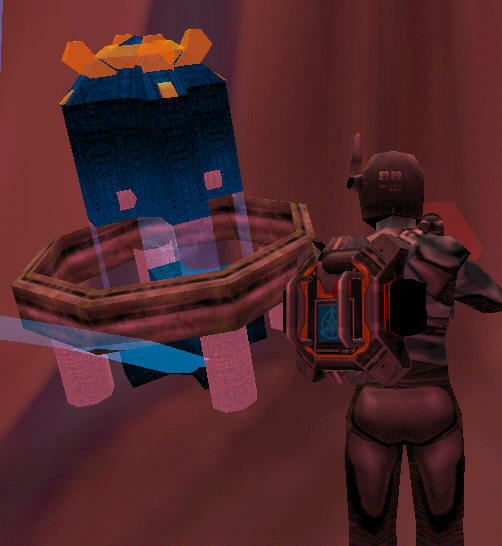
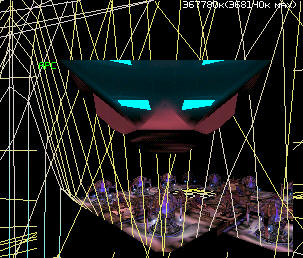
By the way, if you target one of your ships, so you can see their point of view in your target view box, and you enable the site view special, then, the ship you have targeted can give you a wire frame view of what's in front of it. Here an APC is investigating an obscure part of the map for me, heheh.
Back to FE Walkthroughs.
On to the Next Mission.