Mission 19A: Crash on Memory Lane
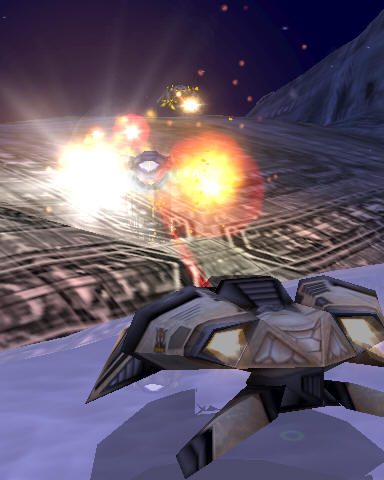
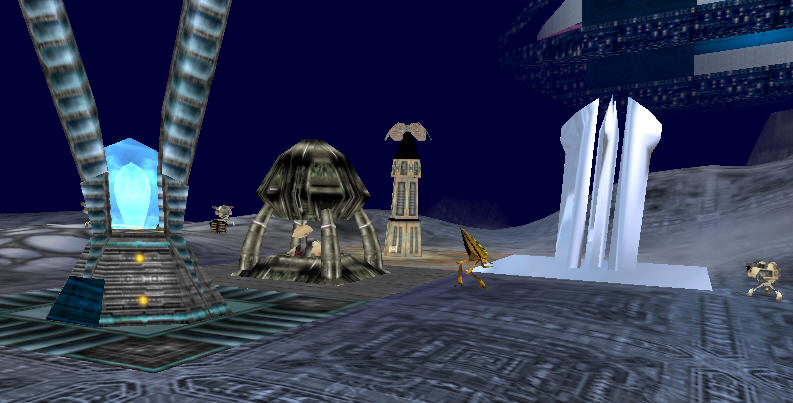
You are back with your Hadean friends for this mission, though the Scions have loaned you a few units to help you get started. You'll probably want to have your Warrior and Xypos wingmen provide some back up, while you fight off an incoming Krul and Triton.
The Procreator will automatically make its way to the base site. Once you reach your base, you'll have no time to waste, in getting some defenses up. The Cerberi will be sending attackers into your base almost from the moment that you start building. So a couple of scavs and plenty of turrets are the first order of business.
The Cerberi cleverly send attack waves from three different directions, including Sirens backed up with Kruls. This will force you to spread your defenses a bit thin, at first, and require you personally to provide a good portion of the fire power to repel the attackers.
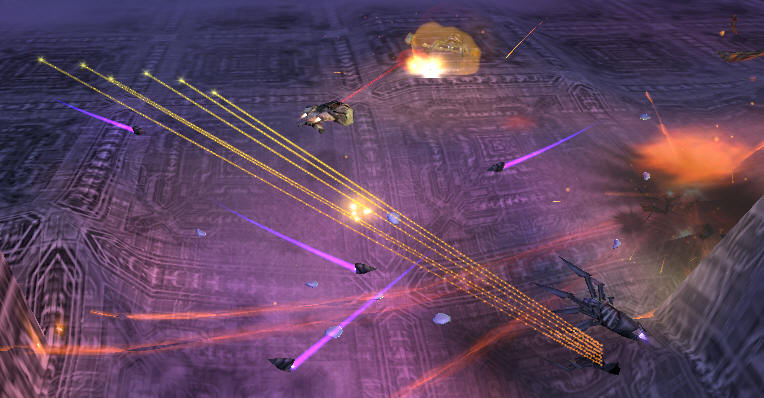
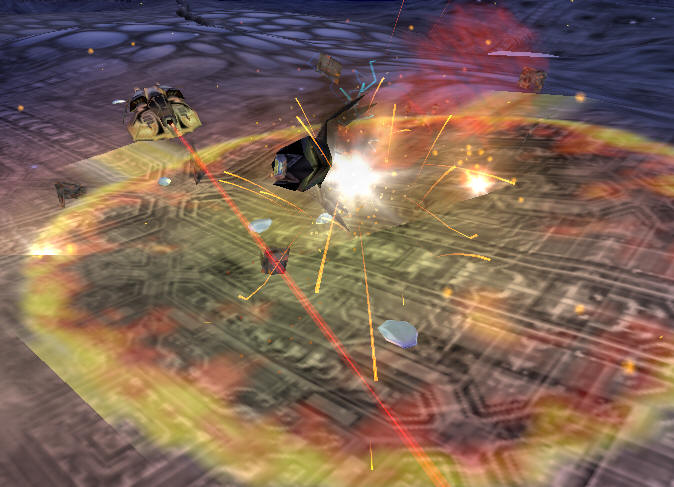
After the initial onslaught, the Sirens, at least, pretty much attack from just one direction; so, concentrate plenty of fire power on that corner of your base.
Once you get this critical toe hold, you should be able to reinforce your initial defense with Spikes and begin building out your base.
Some combination of turrets and spikes at the three points of your base that come under attack should hold the fort, especially once you can get more healers built.
After you have enough defense up, you can pick up a second well, which is located where you started the mission. This will give you enough scrap storage to build Defenders and heavy tanks. Take a few turrets along with you when you establish this second well, since it will quickly be noticed by patrolling Cerberi. If you've been able to hang onto your Scion builder, it will come in handy when setting up a defense around this second well, since build space is limited. Although the attacks on this well may not seem to be heavy, they will get heavier as the mission goes on; so, you may want to overbuild your defenses to begin with. Don't forget to send a couple of healers over to keep an eye on things.
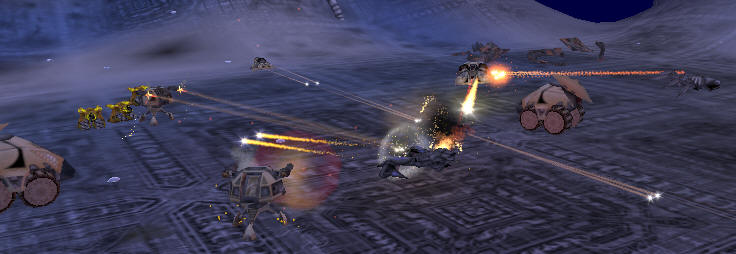
Now, it's time to start thinking about putting together an attack force of your own. Two wells will give you access to the upgraded Hedoux and Atlas. You can equip your own tank with a dragon blast cannon, if you like. Both the dragon blast equipped Hedoux and the Atlas have the range to take out the Cerberi gun towers with ease. The Hedouxes with their shell gun and dragon blast combo make for a rather sturdy mobile turret system, as well.
Once you have cleared out the gun towers and the foundry itself, you have access to another well, which will open up the rest of the Hadean build tree.
Although it will not come under heavy attack, the third well will be pestered by small attack craft, Mosquitoes; so, put up some defense around it before moving on.
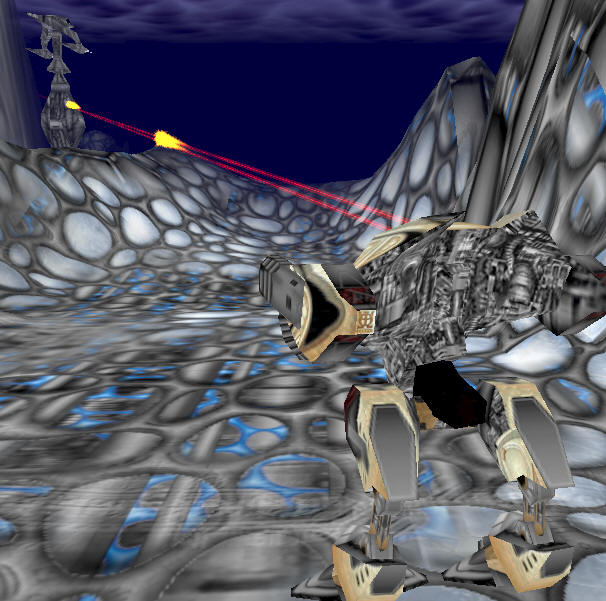
You can build some walkers for the next phase of the operation.

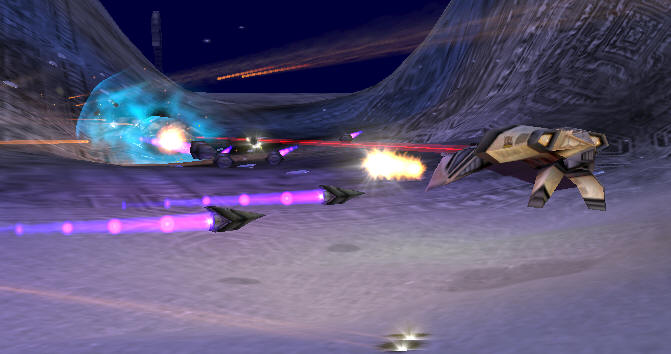
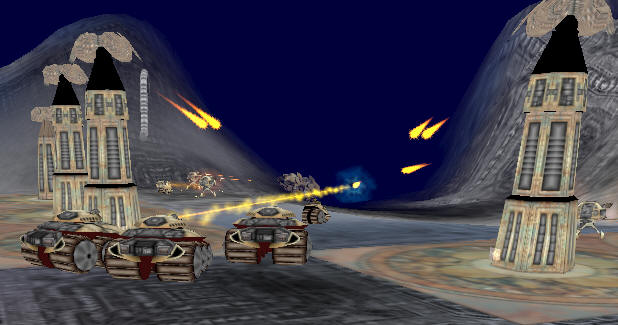
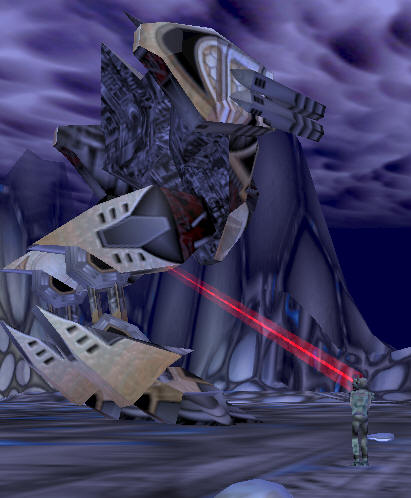
Due to the narrowness of the passage leading to the Cerberi's main portal, your initial obstacle will be getting your non-hover vehicles to arrive where you need for them to be, at the same time. Athough Shultz is occupying a Cerberi walker equipped with powerful weapon, and he is backed up by a gun tower, a few stout units with plenty of fire power of their own should be enough to punch your way through.

Once Shultz has been eliminated, a beam gate and one more gun tower stand between you and the final objective. A dragon blast equipped Hedoux or a Krahanos with heavy lasers will be up to the task.
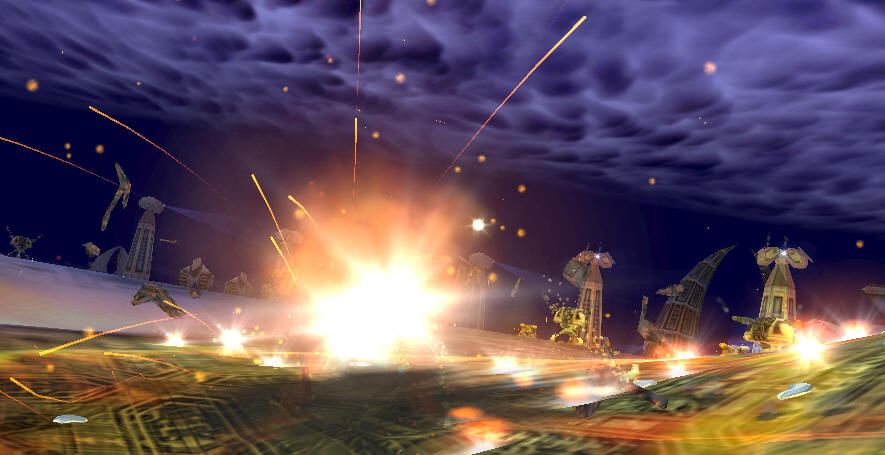
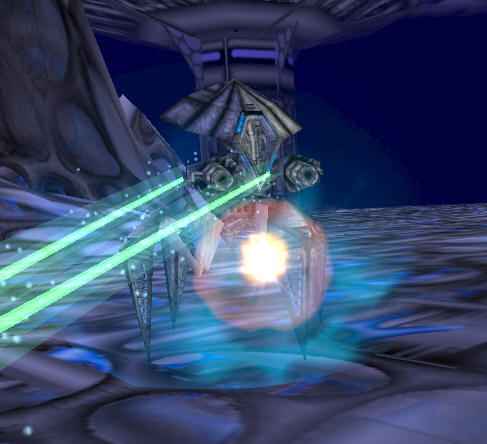
You'll have to time your rush at the gate carefully with these lumbering units to keep them from getting toasted. Go on 5. 1, 2, 3, 4, Five!
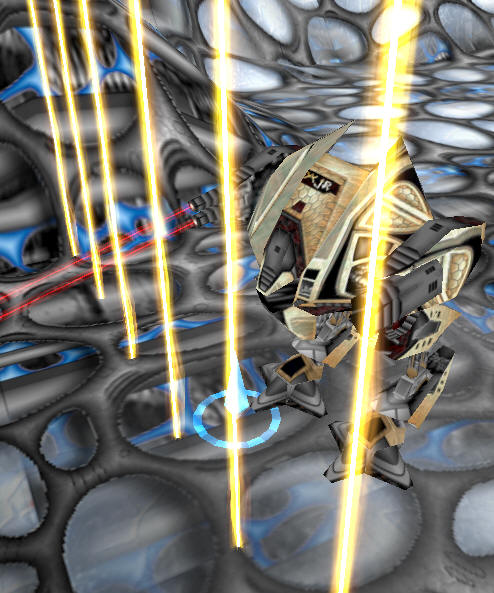
Piece of cake. :-)
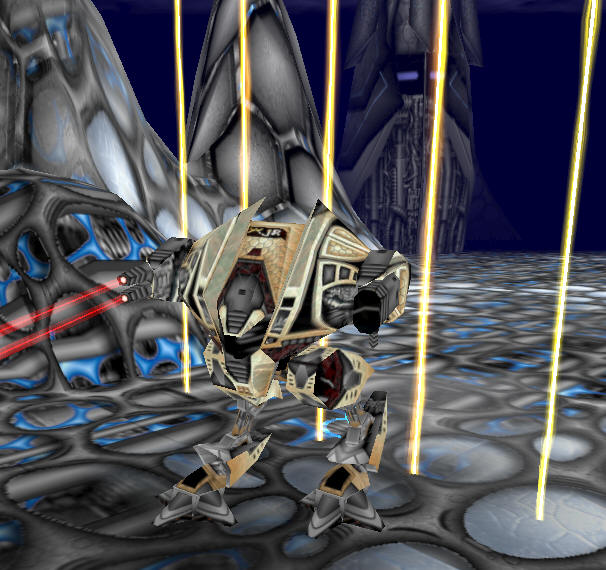
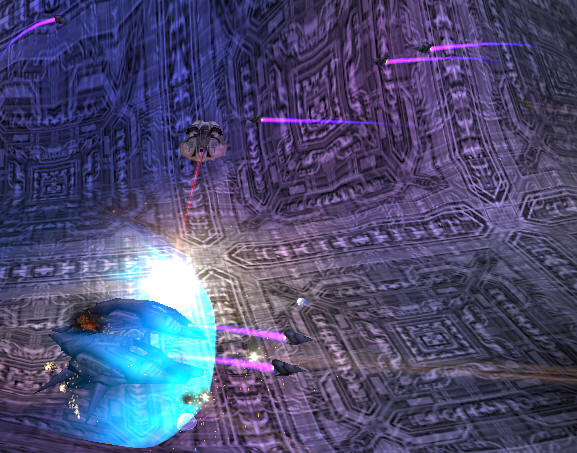
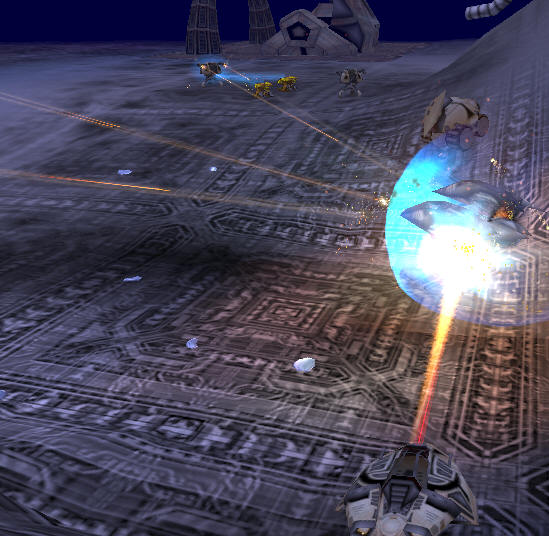
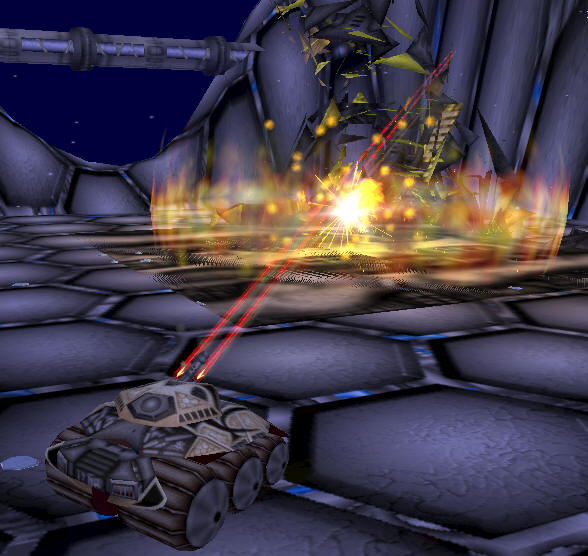
A Krahanos has plenty of range for taking out the gun tower.
It can't out range the defenses around the Transporter, but your armor should last long enough to get the job done.
The end?
Back to FE Walkthroughs.
On to the Next Mission.